How to Install a Frt-15: Step-by-Step Guide
How to Install a FRT-15: Step-by-Step Guide
Getting a forced reset trigger like the FRT-15 to run reliably is all about a clean, precise installation. It’s not hard, but it’s different from a standard trigger. This guide walks you through the process, step-by-step, with the safety and detail it demands. A proper frt-15 installation transforms the function of your rifle, so let’s get it right.
Tools and Materials You’ll Need
- AR-15 Armorer’s Wrench (for castle nut)
- Roll Pin Punches (1/16″ and 3/32″)
- Hammer (preferably nylon/brass)
- Needle-Nose Pliers
- Small Flathead Screwdriver or Awl
- Cleaning Rod or Slave Pin (makes life easier)
- Your FRT-15 trigger kit
- A well-lit, clean workspace
You can find quality tools and compatible parts, like specific anti-walk pins, in our AR-15 parts category if you need them.
Step 1: Clear and Field Strip Your Rifle
Remove the magazine and lock the bolt to the rear. Visually and physically inspect the chamber to confirm it is empty. Release the bolt. Depress the takedown pins and separate the upper receiver from the lower. This is your foundation for a safe install frt-15 process. Always treat every firearm as if it is loaded during this initial step.
Step 2: Remove the Standard Fire Control Group
Drift out the two fire control group pins using your roll pin punches and hammer. Push from left to right. Once the pins are removed, the standard trigger, hammer, and disconnector can be lifted out. Keep these parts organized if you plan to reuse them later. Go slow here to avoid marring your lower receiver’s finish.
Step 3: Identify and Inspect FRT-15 Components
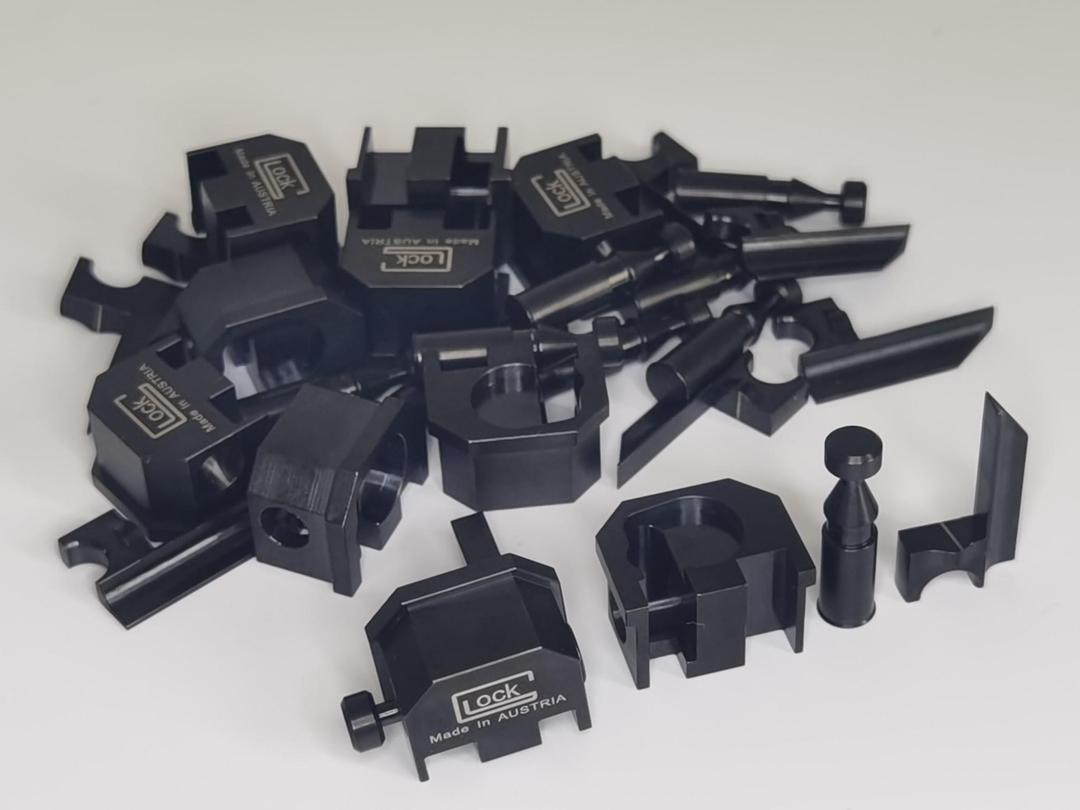
Lay out all parts from your FRT-15 kit. You should have a specialized trigger, hammer, disconnector, and a proprietary spring pack. Compare them to your old parts. The trigger will have a distinct shelf and the hammer geometry is unique. For a deeper dive into how this design works, our complete guide to the FRT-15 covers the mechanics in detail.
Step 4: Install the FRT-15 Hammer
Place the FRT-15 hammer into the lower receiver, ensuring the j-hook spring legs are seated in the small holes near the hammer pivot. Use a cleaning rod or slave pin to hold the hammer in place while you maneuver. Getting the spring seated correctly is critical for proper reset and function. If the spring legs aren’t in their holes, the hammer won’t have the right tension.
Step 5: Install the FRT-15 Trigger and Disconnector
Hook the disconnector onto the trigger. Then, carefully lower the assembly into the receiver, aligning the trigger and hammer pivot holes. You’ll need to compress the disconnector spring with a small punch as you slide the assembly in. This is the trickiest part of the frt-15 install. Patience is key—forcing it can damage the disconnector or its spring.
Step 6: Insert the Pivot Pins
With all components aligned, start the hammer pin first, then the trigger pin. A slave pin or the tip of your punch can help keep things lined up. Tap the pins through until they are flush on both sides. We recommend using anti-rotation pins with the FRT-15 due to its unique forces. You can browse our full catalog for a set if your kit didn’t include them.
Step 7: Function Check in the Lower Receiver
Before reassembling the rifle, perform a basic function check. Pull the trigger and hold it. Manually cock the hammer back. You should feel it catch on the disconnector. Release the trigger—you should hear and feel a distinct, positive “click” as the hammer transfers from the disconnector to the trigger sear. This reset is the heart of the system.
Step 8: Reassemble the Rifle
Mate the upper receiver to the lower. Ensure the bolt carrier group is forward in the upper before closing. Reinsert the takedown pins. Your frt-15 installation is now mechanically complete. Keep the rifle pointed in a safe direction for the final, live-fire verification step.
Step 9: Final Safety and Function Verification
At a safe firing range, with the muzzle pointed downrange, load a single round into a magazine. Fire the round. The bolt should cycle, automatically resetting the trigger. The rifle should not fire again until you consciously release and repull the trigger. This “forced reset” is the intended function. If it doubles or runs away, stop immediately. The installation needs correction.
Troubleshooting Common Issues
No Reset / Trigger Stays Back: The most common issue. Almost always caused by the hammer spring legs not being correctly seated in their holes. Disassemble and re-seat the j-hook spring. Also check for binding between the disconnector and trigger.
Hammer Follow / Uncontrolled Fire: Extremely dangerous. This usually means the disconnector isn’t engaging the hammer correctly. Check for proper disconnector spring installation and ensure the disconnector hook isn’t worn or out of spec. A heavier buffer can sometimes help timing.
Light Strikes: Could be a weak hammer spring (uncommon) or the hammer’s travel is being impeded. Verify nothing is blocking the hammer’s full arc. Also, remember that the FRT-15 operates differently than a binary trigger; if you’re curious about that distinction, we have a detailed FRT-15 vs binary trigger comparison.
General Advice: These triggers can be finicky with certain ammunition, bolt carrier weights, and buffer systems. If you have persistent issues, start with a standard carbine buffer and full-power 5.56 ammo to establish a baseline. For all your build needs, from tools to lowers, the P80 Kit homepage is your starting point. Remember, safety and reliability are paramount—never use a trigger system you don’t fully trust.